Winning a government tender in Tanzania can truly transform your business. It often leads to stable revenue, prestigious projects, and a significant boost to your company’s profile. However, the process, which is now managed through the National e-Procurement System of Tanzania (NeST), can feel complex and unforgiving. This definitive guide is your roadmap to navigating the system in 2026, cutting through the bureaucracy, and ultimately, positioning your company to win.
The single most critical factor for success is 100% compliance. Unlike private sector contracts where you might negotiate terms, government procurement is a rigid, rules-based process. As a result, a single missing document, a misinterpreted requirement, or a last-minute submission error can lead to automatic disqualification. The NeST system, in fact, is specifically designed to enforce these rules digitally. This makes meticulous preparation and attention to detail more important than ever before.
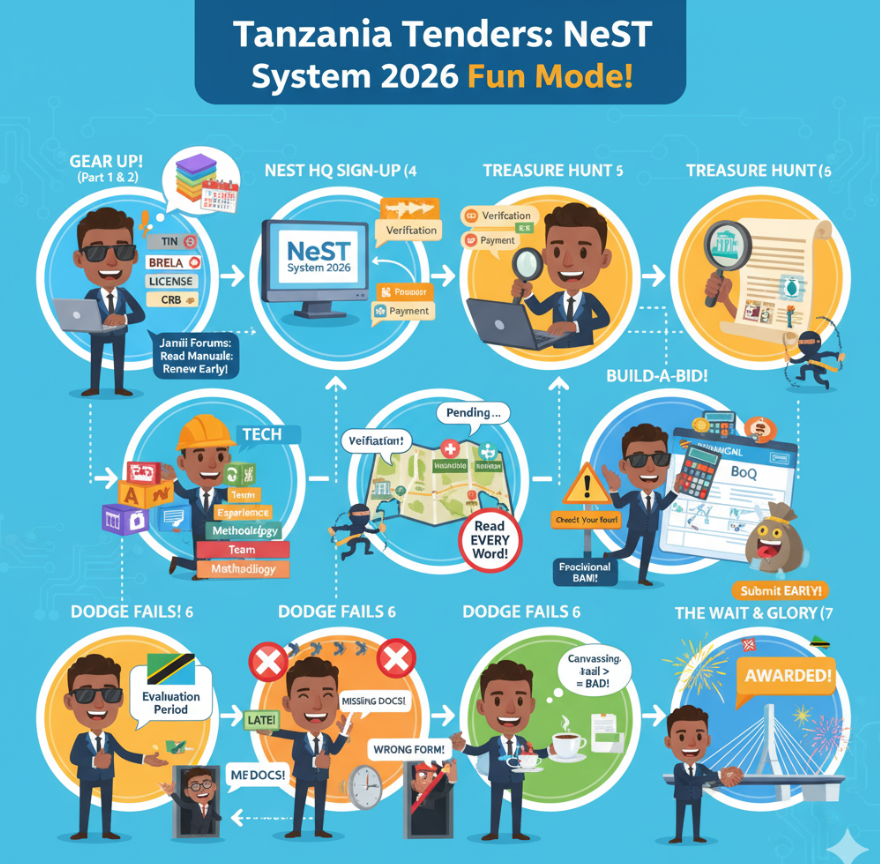
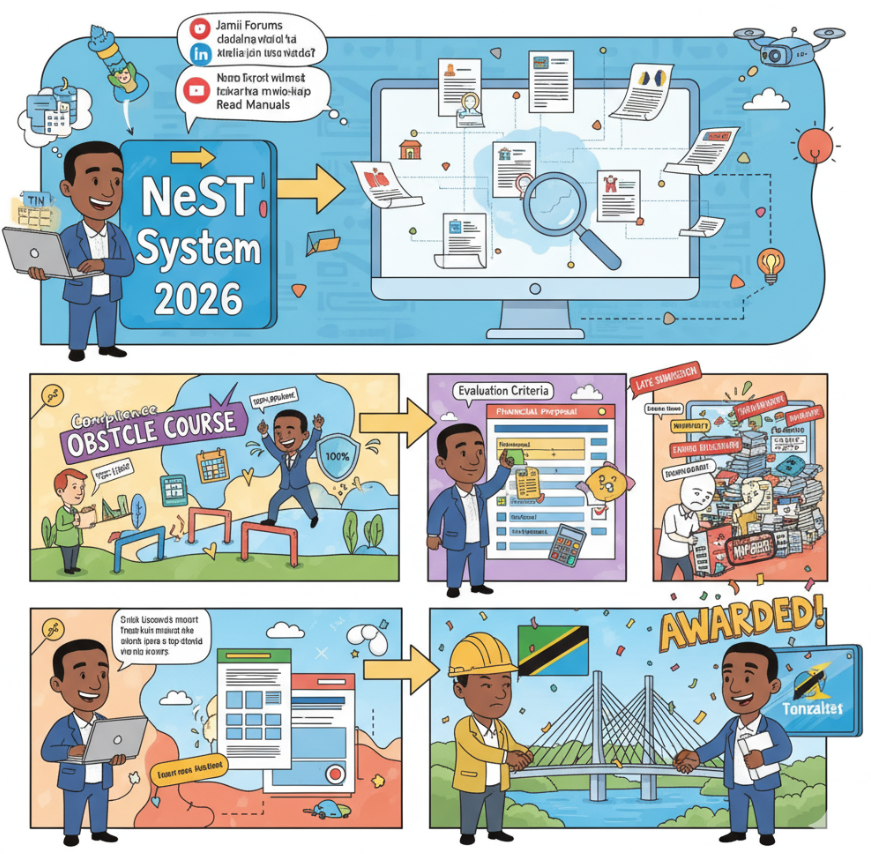
This guide will walk you through the entire lifecycle of a government tender. First, we will cover the initial registration on NeST. Then, we will move on to crafting a winning bid and understanding the post-submission process. To give you practical, actionable advice, we’ve also incorporated real-world feedback and common frustrations shared on platforms like Jamii Forums and professional social media networks.
Part 1: Understanding the Landscape – NeST and the PPRA
Before you even think about bidding, you must first understand the two most important acronyms in Tanzanian public procurement: PPRA and NeST.
PPRA (Public Procurement Regulatory Authority): This government body oversees and regulates all public procurement activities in Tanzania. They set the rules, create the standard bidding documents, and work to ensure fairness and transparency in the process. For this reason, their website is a crucial resource for laws, regulations, and updates.
NeST (National e-Procurement System of Tanzania): This is the official online portal where everything happens. It replaced the older TANePS system and is now the mandatory platform for registering as a supplier, finding tender opportunities, submitting bids, and receiving notifications. Essentially, the goal of NeST is to increase efficiency, reduce corruption, and create a level playing field for all businesses.
A word from Jamii Forums:
“Wadau, niliyekuwa nimezoea TANePS, hii NeST mwanzoni ilinichanganya kidogo. Interface yake ni tofauti, lakini ukishazoea unaona ni rahisi zaidi ku-track documents na communication zote zipo sehemu moja. Muhimu ni kusoma user manuals zao kwanza.”
(Translation):“Folks, for someone used to TANePS, NeST was a bit confusing at first. The interface is different, but once you get used to it, you realize it’s easier to track documents and all communication is in one place. The key is to read their user manuals first.”
Why the Shift to NeST?
The government’s move to NeST is driven by several key needs:
Transparency: All actions are digitally logged, from tender advertisement to award notification, which reduces opportunities for backroom deals.
Efficiency: The system streamlines the submission and evaluation process. This in turn reduces paperwork and saves time for both procuring entities and bidders.
Wider Reach: It allows businesses from anywhere in the country (and the world) to compete for tenders on an equal footing.
Accountability: It also creates a clear digital trail that auditors can check, ensuring procuring entities follow the law.
Part 2: The Foundation – Getting Your Business Ready for Tenders
You simply cannot win a tender if your company’s legal and financial house is not in order. The NeST system will verify your compliance digitally. Therefore, before you even visit the NeST website, you must ensure you have the following documents and registrations ready in a digital format (PDF).
The Non-Negotiable Checklist:
1. Certificate of Incorporation/Registration: Your business must be formally registered with the Business Registrations and Licensing Agency (BRELA). Whether you are a sole proprietorship, partnership, or limited company, you need this official document.
2. Valid Business License: You need an up-to-date business license for the specific category of goods, works, or services you plan to provide.
3. Taxpayer Identification Number (TIN) Certificate: The Tanzania Revenue Authority (TRA) issues this certificate, and it is mandatory for any formal business.
4. Valid Tax Clearance Certificate: This is arguably one of the most critical documents. It’s a certificate from the TRA that proves your business is compliant with its tax obligations. This certificate has an expiry date; consequently, you must have a valid one when you bid. An expired certificate means immediate disqualification.
5. VAT Registration Certificate (if applicable): If your business’s turnover exceeds the VAT registration threshold, you must have this certificate.
6. Registration with Professional Bodies: Depending on your industry, you may also need to register with specific boards.
Architecture: Architects and Quantity Surveyors Registration Board (AQRB)
7. Bank Account in the Company’s Name: You must have a formal business bank account. You will need bank statements later to prove your financial capacity.
LinkedIn Insight from a Dar es Salaam CEO:
“We missed out on a seven-figure tender last year because our Tax Clearance Certificate expired two days before the submission deadline. We had initiated the renewal, but the system is strict: it’s what you have on the submission day that counts. Now, we have calendar alerts set three months before any key document expires. Don’t learn this lesson the hard way.”
Part 3: Step-by-Step Guide to NeST Registration
Once your documents are in order, it’s time to register on the NeST portal. Be patient and careful during this process.
First, navigate to the NeST homepage and look for the “Supplier Registration” or “Register” link.
You will then fill in basic company information, including your company name, TIN number, and contact details. The system often cross-references this information with BRELA and TRA databases, so ensure it matches exactly.
Stp 2: Company Profile Completion
This is the most detailed part of the process. Here, you will upload digital copies of all the documents listed in the checklist above.
Furthermore, you must select the categories of goods, works, or services your company provides. Be specific but also comprehensive, because these categories determine which tender notifications you receive.
You may also need to provide details about your company’s annual turnover and upload audited financial statements for the past few years.
Finally, you will need to list the key individuals in your company and may need to upload their CVs or proof of qualifications.
Step 3: Verification and Approval
After submitting all your information, your profile will enter a verification queue. The NeST administrators will then review your documents.
This process can take several days or even weeks. If there is an issue with any document, you will receive a notification asking for a correction. For this reason, you should check your email and the NeST portal regularly.
Stp 4: Payment of Registration Fees
Once your profile is approved, the system will prompt you to pay the annual supplier registration fee. You will get a control number for payment through a bank or mobile money.
Remember, your registration only becomes active after the system confirms this payment.
Common Frustration from a WhatsApp Business Group:
“Jamani, nime-submit application yangu NeST wiki tatu zilizopita bado iko ‘Pending Verification’. Hii ni kawaida au kuna sehemu nimekosea? Najaribu kupiga simu halmashauri hawapokei.”
(Translation):“Guys, I submitted my NeST application three weeks ago and it’s still ‘Pending Verification’. Is this normal or did I make a mistake somewhere? I’m trying to call the council, but they aren’t picking up.”
Response:This is a common issue. In reality, verification times can vary. The best approach is to ensure all uploaded documents are crystal clear and correctly labelled. Sometimes a blurry scan of a TIN certificate is the only thing holding up the process. If it takes too long, use the official NeST helpdesk email instead of calling a specific procuring entity.
Part 4: The Hunt – Finding and Analyzing Tenders
Once your NeST profile is active, you can begin searching for opportunities.
Navigating the NeST Portal for Tenders
Dashboard Notifications: The system will often notify you of new tenders published in the categories you registered for.
Advanced Search: You should also use the search functionality to filter tenders. You can search by:
Procuring Entity (PE): (e.g., Ministry of Health, TANROADS, a specific Municipal Council)
Tender Category: (e.g., Construction Works, IT Equipment Supply, Consultancy Services)
Region/Location: Filter by the location of the project.
The Most Important Step: Reading the Tender Document
When you find a promising tender, you must download and read the Standard Bidding Document (SBD) from start to finish. Do not just skim it. This document is your bible for this specific bid, as it contains everything you need to know. Key sections include:
Invitation for Tenders (IFT): This is a summary of the project.
Instructions to Bidders (ITB): These are the rules of the game. This section details submission deadlines, required formats, bid validity periods, and reasons for disqualification.
Evaluation Criteria: This section is the secret sauce because it tells you exactly how the committee will score your bid. It is typically broken down into:
Preliminary/Mandatory Requirements: A checklist of documents. If you miss one, you’re out. (e.g., Valid Business License, Tax Clearance, Bid Security).
Technical Evaluation: How your proposed solution, methodology, personnel qualifications, and past experience will be scored.
Financial Evaluation: Your price will be compared to others. Usually, the lowest-priced, technically compliant bid wins.
Statement of Requirements/Scope of Work: This part offers a detailed description of the goods, works, or services required.
Forms of Bid, Price Schedules, and Bill of Quantities (BoQ): These are the templates you MUST use to prepare and submit your offers. Crucially, do not create your own formats.
A Hard-Learned Lesson from Twitter:
“Lost a bid for supplying office furniture. Why? We quoted for chairs with steel legs because they were cheaper and stronger. The tender doc specified ‘chrome-plated legs’. We thought it was a minor detail. It wasn’t. We were deemed ‘non-responsive’. Read every. single. word.”
Part 5: Crafting a Bid That Wins
This is where you combine your compliance with your expertise. A winning bid is both compliant and compelling.
1. The Compliance Checklist – Ticking Every Box
First, create your own internal checklist based on the Preliminary/Mandatory Requirements section of the tender document. As you gather each document, tick it off. This includes:
Bid Security/Tender Securing Declaration: Many tenders require a Bid Bond from a bank or insurance company, usually 2-3% of your bid price. This proves you are a serious bidder. For smaller tenders, the client might require a Tender Securing Declaration form instead. Pay close attention to the required amount and validity period.
Company Documents: This includes all the items from the registration checklist (TIN, VRN, Business License, etc.).
Manufacturer’s Authorization (for supply of goods): If you are supplying goods you do not manufacture, you will need an official letter from the manufacturer that authorizes you to supply their product.
Signed Forms: Finally, ensure an authorized person in your company fills out, signs, and stamps all required forms in the tender document.
2. The Technical Proposal – Proving Your Capability
This is your chance to shine. Don’t just meet the minimum requirements; instead, show the evaluation committee why you are the best choice.
Address Every Point: Structure your technical proposal to mirror the evaluation criteria. For instance, if they have a scoring section for “Experience of Key Personnel,” create a heading with that exact title and detail your team’s experience.
Showcase Relevant Experience: Provide details of similar projects you have completed. Include client names, contract values, and completion dates. If possible, you should also include reference letters or completion certificates.
Clear Methodology: For works or services, explain how you plan to deliver the project. Provide a work plan, a timeline (Gantt chart), and a methodology that shows a clear understanding of the requirements.
Quality of Goods/Materials: For supply tenders, provide detailed specifications, brochures, or datasheets for the products you are offering. Make sure they meet or exceed the required specifications.
3. The Financial Proposal – The Art of Pricing
This is often the deciding factor. Your goal is to be the lowest-priced bid among those who are technically compliant.
Use the Provided Forms: You must fill in the Bill of Quantities (BoQ) or Price Schedule exactly as provided. Do not alter the form in any way.
Cost Everything: Break down all your costs with great care. Include materials, labor, transport, overhead, and your profit margin. Forgetting a cost can easily turn a winning bid into a loss-making project.
Be Competitive, Not Suicidal: Research the market rates for the items. Pricing too high will make you uncompetitive. On the other hand, pricing too low might raise red flags about your ability to deliver quality or could even get you disqualified for being an “abnormally low tender.”
Check Your Math: Simple arithmetic errors are a surprisingly common reason for disqualification. For this reason, you should double-check and triple-check all your calculations, totals, and VAT computations.
Jamii Forums Financial Tip:
“Kwenye kujaza BoQ, kuwa makini na ‘provisional sums’ na ‘contingencies’. Hizi ni hela ambazo client anazi-estimate kwa vitu asivyo na uhakika navyo. Usizitumie ku-adjust bei yako. Jaza bei zako halisi kwenye items unazozijua, na uache hizo kama zilivyo unless a client gives other instructions during a pre-bid meeting.”
(Translation):“When filling the BoQ, be careful with ‘provisional sums’ and ‘contingencies’. This is money the client estimates for things they aren’t sure about. Don’t use them to adjust your price. Fill in your real prices on the items you know, and leave those as they are unless a client gives other instructions during a pre-bid meeting.”
4. Submission – The Final Hurdle
Submit Early: The NeST system can slow down or experience glitches on the deadline day because of high traffic. Submitting hours or even a day early is a very wise strategy.
Upload Correctly: Make sure you upload the Technical Proposal and Financial Proposal in the correct, separate sections as instructed. Sometimes clients require them to be in password-protected files, with the password shared only at the virtual bid opening.
Confirmation Receipt: After submission, the NeST system generates a confirmation receipt. You must save this as proof of your submission.
Part 6: Common Mistakes That Lead to Disqualification
Late Submission: The system automatically locks out submissions after the deadline. There are absolutely no exceptions.
Incomplete Documentation: Missing even a single mandatory document.
Expired Documents: Submitting an expired Tax Clearance Certificate or Business License.
Failure to Attend Mandatory Site Visits/Pre-Bid Meetings: If a meeting is listed as mandatory, your failure to attend and sign the register will disqualify you.
Incorrect Bid Security: The amount is wrong, the validity period is too short, or the bond is from an unapproved financial institution.
Altering the Bidding Forms: Modifying the official forms in any way.
Canvassing and Corruption: Trying to influence the evaluation committee is illegal and will get you debarred.
Not Signing/Stamping Documents: Forgetting to sign the bid form or other key documents.
Part 7: After Submission – What to Expect
Bid Opening: The procuring entity often does this publicly (or virtually) through the NeST system. You can log in to see the names of the bidders and their bid prices.
Evaluation Period: The procuring entity’s evaluation committee will now review all the bids. This process can take weeks or sometimes months.
Notification of Award: You will get a notification through NeST telling you whether you were successful or not.
The Appeals Process: If you believe the procurement process was flawed or unfair, you have the right to appeal through the official channels outlined by the PPRA.
Looking Ahead to 2026 and Beyond
The trend in government procurement is moving towards greater data integration and automation. For 2026, you can expect the NeST system to become even more central. Moreover, it will likely integrate with other government systems to perform real-time compliance checks. The businesses that embrace digital processes, maintain perfect records, and understand the rules-based nature of public procurement will be the ones who thrive and win the most significant tenders.
This guide provides the framework, but success ultimately comes from execution. Start by getting your company’s foundation right, treat every tender document with the respect it deserves, and build a reputation for being a compliant, reliable, and competitive bidder.
Do you have experience with the NeST system? Share your tips or questions in the comments below!
Is a software engineer with a B.Sc. in Software Engineering. 100k+ blog posts visits per month
He builds scalable web apps, writes beginner-friendly code tutorials, and shares real-world lessons from the trenches.
When he’s not debugging at 2 a.m., you’ll find him mentoring new devs or exploring New Research Papers.
Connect with him on LinkedIn (24) ISRAEL NGOWI | LinkedIn.
"JESUS IS THE WAY THE TRUTH AND THE LIGHT"